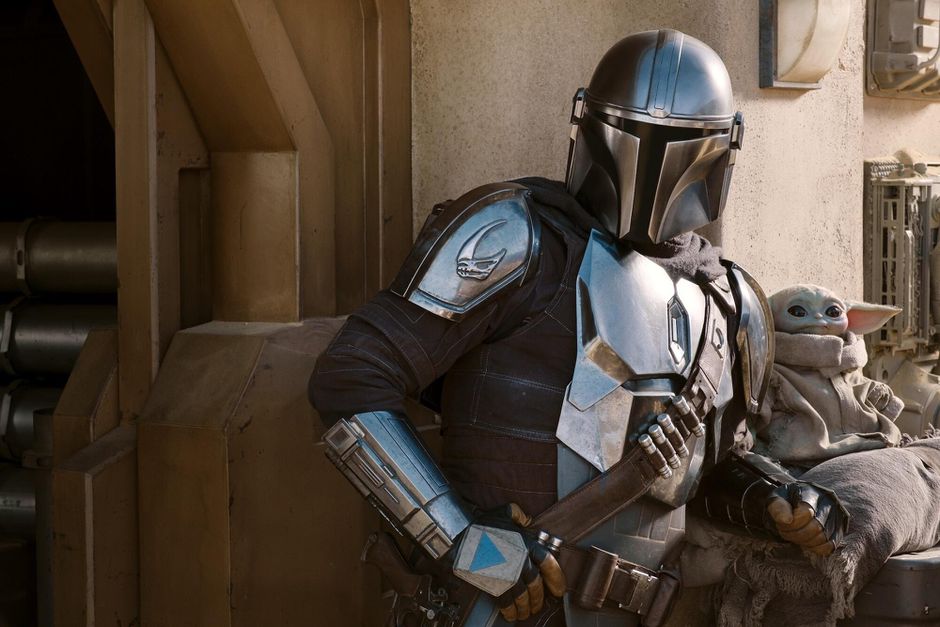
A (not so) long time ago in a galaxy (not so) far away, Disney released its newest Star Wars themed show on Disney Plus. Since then, The Mandalorian, starring Pedro Pascal as the titular bounty hunter, has exploded in popularity, becoming an instant classic and fan favourite.
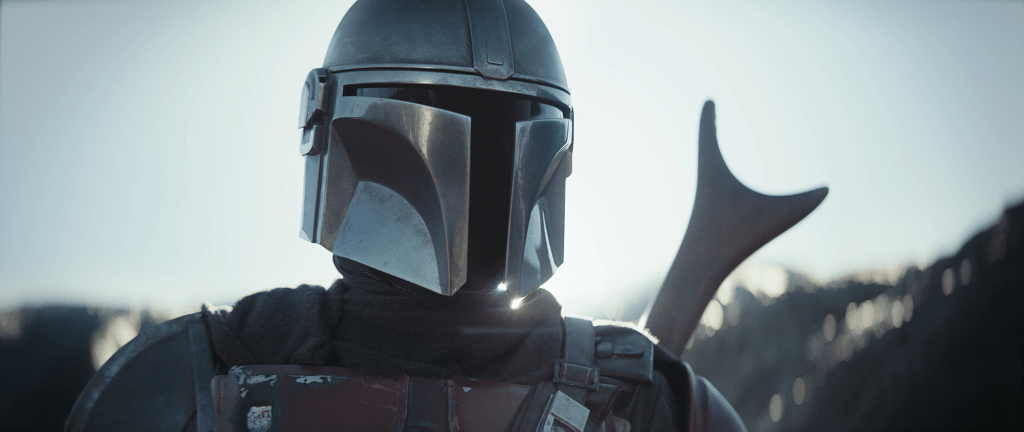
While Pedro Pascal may receive top billing as the show’s star, it is the iconic Mandalorian armour that is most instantly recognisable.
From the moment the first teaser images were released, fans and 3D creators were desperate to create their own Mandalorian helmets, suits of armour and props.
Building a wearable prop like this is a project that takes time, patience, skill and knowledge. Having completed our own build, it is time for us to share our journey, discuss the steps we took in some detail and share some advice for other budding creators and fans. This is the way.


This is the way
The Mandalorian
Finding A File

The first step for any 3D project is to find a file that you wish to use.
3D files (usually referred to as STEP or STL files) can be created by the user, or downloaded from libraries. As the Mandalorian helmet is a complicated design to make, it is best to download a premade file.
Premade files can be downloaded for free or purchased from 3D vendors. Websites like Thingiverse, Cults3D and MyMiniFactory have thousands of high quality, free and paid for designs that you can download and build.
Alternately, there are many high quality freelance designers who will sell files individually, or through memberships on sites like Patreon. The file we used was purchased from HEX3D.
Slice & Print
Finding a good quality 3D file is a really important step, but it’s useless by itself. To print it off, you’ll need to use a slicer to give your 3D printer the necessary instructions to complete the job.
Depending on the size of the printer you are working with, you will either print the helmet in one piece, or broken into smaller sections (like the examples below). There are advantages to both methods. We have used a Creality Ender 3 V2 for this build, so had to print the helmet in parts.


Choosing the correct settings for a 3D job is a complex process. It certainly isn’t something that could be covered in a paragraph or two in this article. When printing a large item like this, you want to find a balance between a good quality print and not having the print take several days to complete.
It is generally recommended that you use a smaller layer height and more infill on the outer layers for builds you wish to paint and display/wear. The reason for this is two fold. A smaller layer height will reduce the gaps between layers, leaving you less sanding to do afterwards. More infill allows you to sand away the top layers to a nice smooth finish, while preventing the infill pattern from appearing underneath. Both problems are fixable if you choose not to use these settings, but it will mean more work down the line.

Whatever you choose, take the time to get your settings in order before committing to long print jobs. A little extra time spent perfecting your print settings can save a huge amount of post processing work later on.
You Have a Finished Print – Now the Real Work Begins!
Printing parts can be a long and sometimes tedious job. It can be very tempting, once you have glued your parts together, to rush the next stage and skip straight to the paint. This is a huge mistake. Filling and sanding is a long and boring process – there is no escaping it. However, it is where 90% of your helmet’s quality will come from. Time spent on this step will more than pay off.


Filling and Sanding – Tools
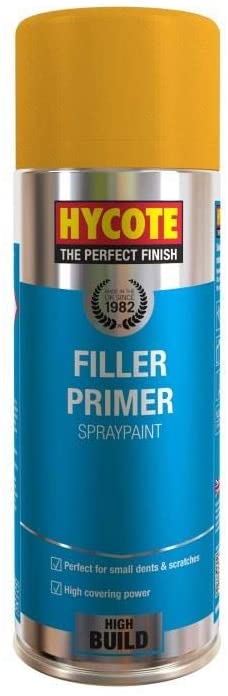
There are a number of different fillers and surface primers that can be used to improve the quality of your build. The Planet Codebot build used a combination of the three products below.
Spray Putty is excellent for filling gap such as layer lines, while filler primer allows for general better adhesion and will also fill in some smaller gaps.
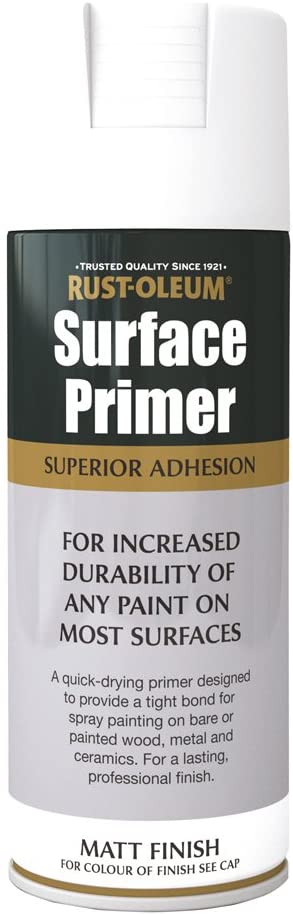

Your goal for this step is to apply several thin layers of spray putty or filler primer, before using sand paper to smooth the layers out. This process will take time. Remember, the more effort you put in here, the better your end result will be.
Over time, by adding filler and then sanding back, all of the small layer gaps and surface imperfections are eventually filled in and level out. This process will even work for larger gaps where parts have been glued together, as visible in the images below.
Wet Sanding vs Dry Sanding
When sanding your work, the choice between wet sanding and dry sanding will inevitably be mentioned. Both options have their benefits. Using both methods together can deliver excellent results.
There probably isn’t one “best way” to complete this step, and this guide certainly isn’t an expert’s opinion. Here is the process that PCB used to achieve a satisfactory end result:
- Use 150 grit sandpaper (dry) all over to remove larger surface imperfections.
- Apply filler primer/putty in several thin layers. Use 200-400 grit sandpaper (dry) to smooth the new layers down.
- Fill any larger gaps (mainly around joints where pieces have been connected) with wood or plastic filler. Smooth out with 150-400 grit (dry) depending on quality of application.
- Apply thin layers of filler primer and sand to achieve an even top layer overall, hiding any gaps. Using two different colour filler primers allows for easier identification of full coverage.
- Apply several layers of spray putty. Wet sand at 400 grit all over. This process is very messy!
- Dry sand with 1000 grit sandpaper all over to finish off.
By following these steps, the final surface was incredibly smooth to the touch (pictures 7 & 8 below). The layers of yellow/orange and white filler primer can be seen in places poking through the top layer of filler putty (grey). This has allowed for the gaps that were present before to be evened out.
There is no specific end point to the filling and sanding process. Our Mandalorian helmet could have had several more sessions of filling and sanding to achieve an even better result. The only certainty here is that the best results will be achieved by those who put the most effort and time in at this stage.


Painting
When you are finally happy with the smoothness and overall quality of your project’s surface, it is time to start the fun part – painting.
The secret to painting any item is all in the preparation. Before starting any work, have an idea of which colours and tools you wish to use. One of the best thing you can do is watch videos of other builders sharing their process to help better inform your decision. What you choose to use will ultimate boil down to several factors: cost, ease of acquiring materials, technically difficulty and desired look.
One paint that I have seen recommended time and time again is Alclad Chrome. This paint appears to produce some excellent results. It does however require the use of an airbrush to use. For more info, check out this YouTube link.
For my build, Alclad wasn’t an option. I do not have any experience using an airbrush, and didn’t want the first time to be on such a big project. Instead, I opted to use a graphite powder rub.
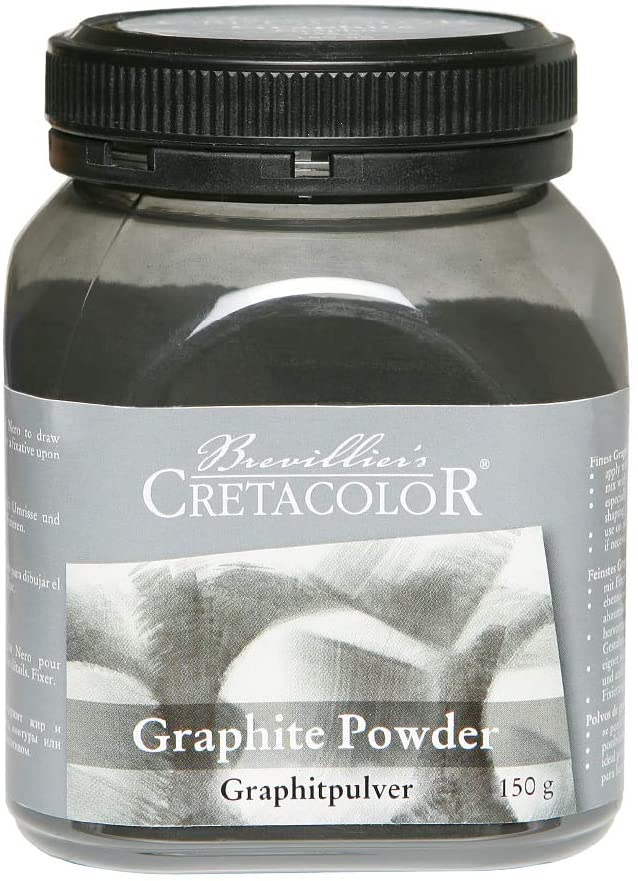
Graphite powder, like this Cretacolor example, is essentially a powdered version of a sketching pencil. Graphite is incredibly messy to work with, but it creates a simply fantastic chrome/metal look when rubbed and polished into the plastic.
Before using the graphite, apply a base layer of high gloss black paint. This will sit beneath the graphite and allow you to get a really nice colour, while also allowing the glossy shine to show through. Apply the paint in thin, even layers, leaving adequate time to dry between coats (15-30 minutes). For this project, we used Hycote Gloss Black.
The process is really simple:
- Apply a small amount of graphite powder to the helmet.
- Use a cotton wool pad or cloth to gently rub in and buff the powder.
- Rub in small circular motions. Try to avoid pressing too hard.
- Apply graphite all over the helmet, several times, ensuring a smooth application over the entire surface.
- Use a clear, glossy lacquer to protect the varnish. Note that some lacquers can dull the colour and/or shine of the graphite.
You can watch the entire process from start to finish in the Planet Codebot YouTube video below.
Conclusion
If you have read this far, then you should be ready to start making your own plan. Preparation is key with any large project. Give yourself time to identify the tools you will need to have and whenever possible, practice before attempting on the real thing. Left over PLA from failed prints provide an excellent opportunity to learn the correct technique and make mistakes on when sanding, filling or painting.
Finally, and most important of all, when in doubt ask for help. Mandalorians are stronger together.