
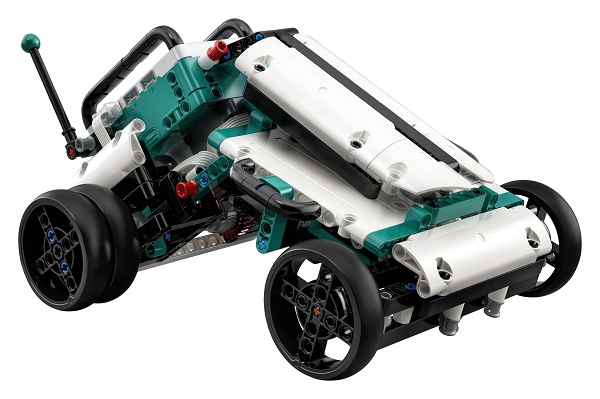
The Lego Mindstorms Robot Inventor kit is a fabulous way to introduce both robotics & coding into lessons. By combining the world famous bricks and technic pieces with a brand new, incredibly easy to use app, Lego have made it easier than ever to create, code and play in minutes.
In this premier resource on Planet CodeBot, we will learn how to write a few simple lines of code to add remote control to the MVP robot model.
As with all of our resources, this guide comes with a step by step video and a copy of the finished code to download. These can both be accessed at the bottom of the page.
Making MVP Move
The first step is to add a basic control system for MVP. The new Mindstorms app has built in model blocks for all five of the starter robots. These blocks allow a quick and easy way to calibrate your robot and state which inputs control each motor.
This example will be using the built in on-screen control pad. The on-screen controls allow for mouse control or touch screen on a compatible device.
Add a Little Style
The intelligent brick hub has a built in 5×5 LED matrix, which is perfect for adding visual cues and a little personality to our robot.
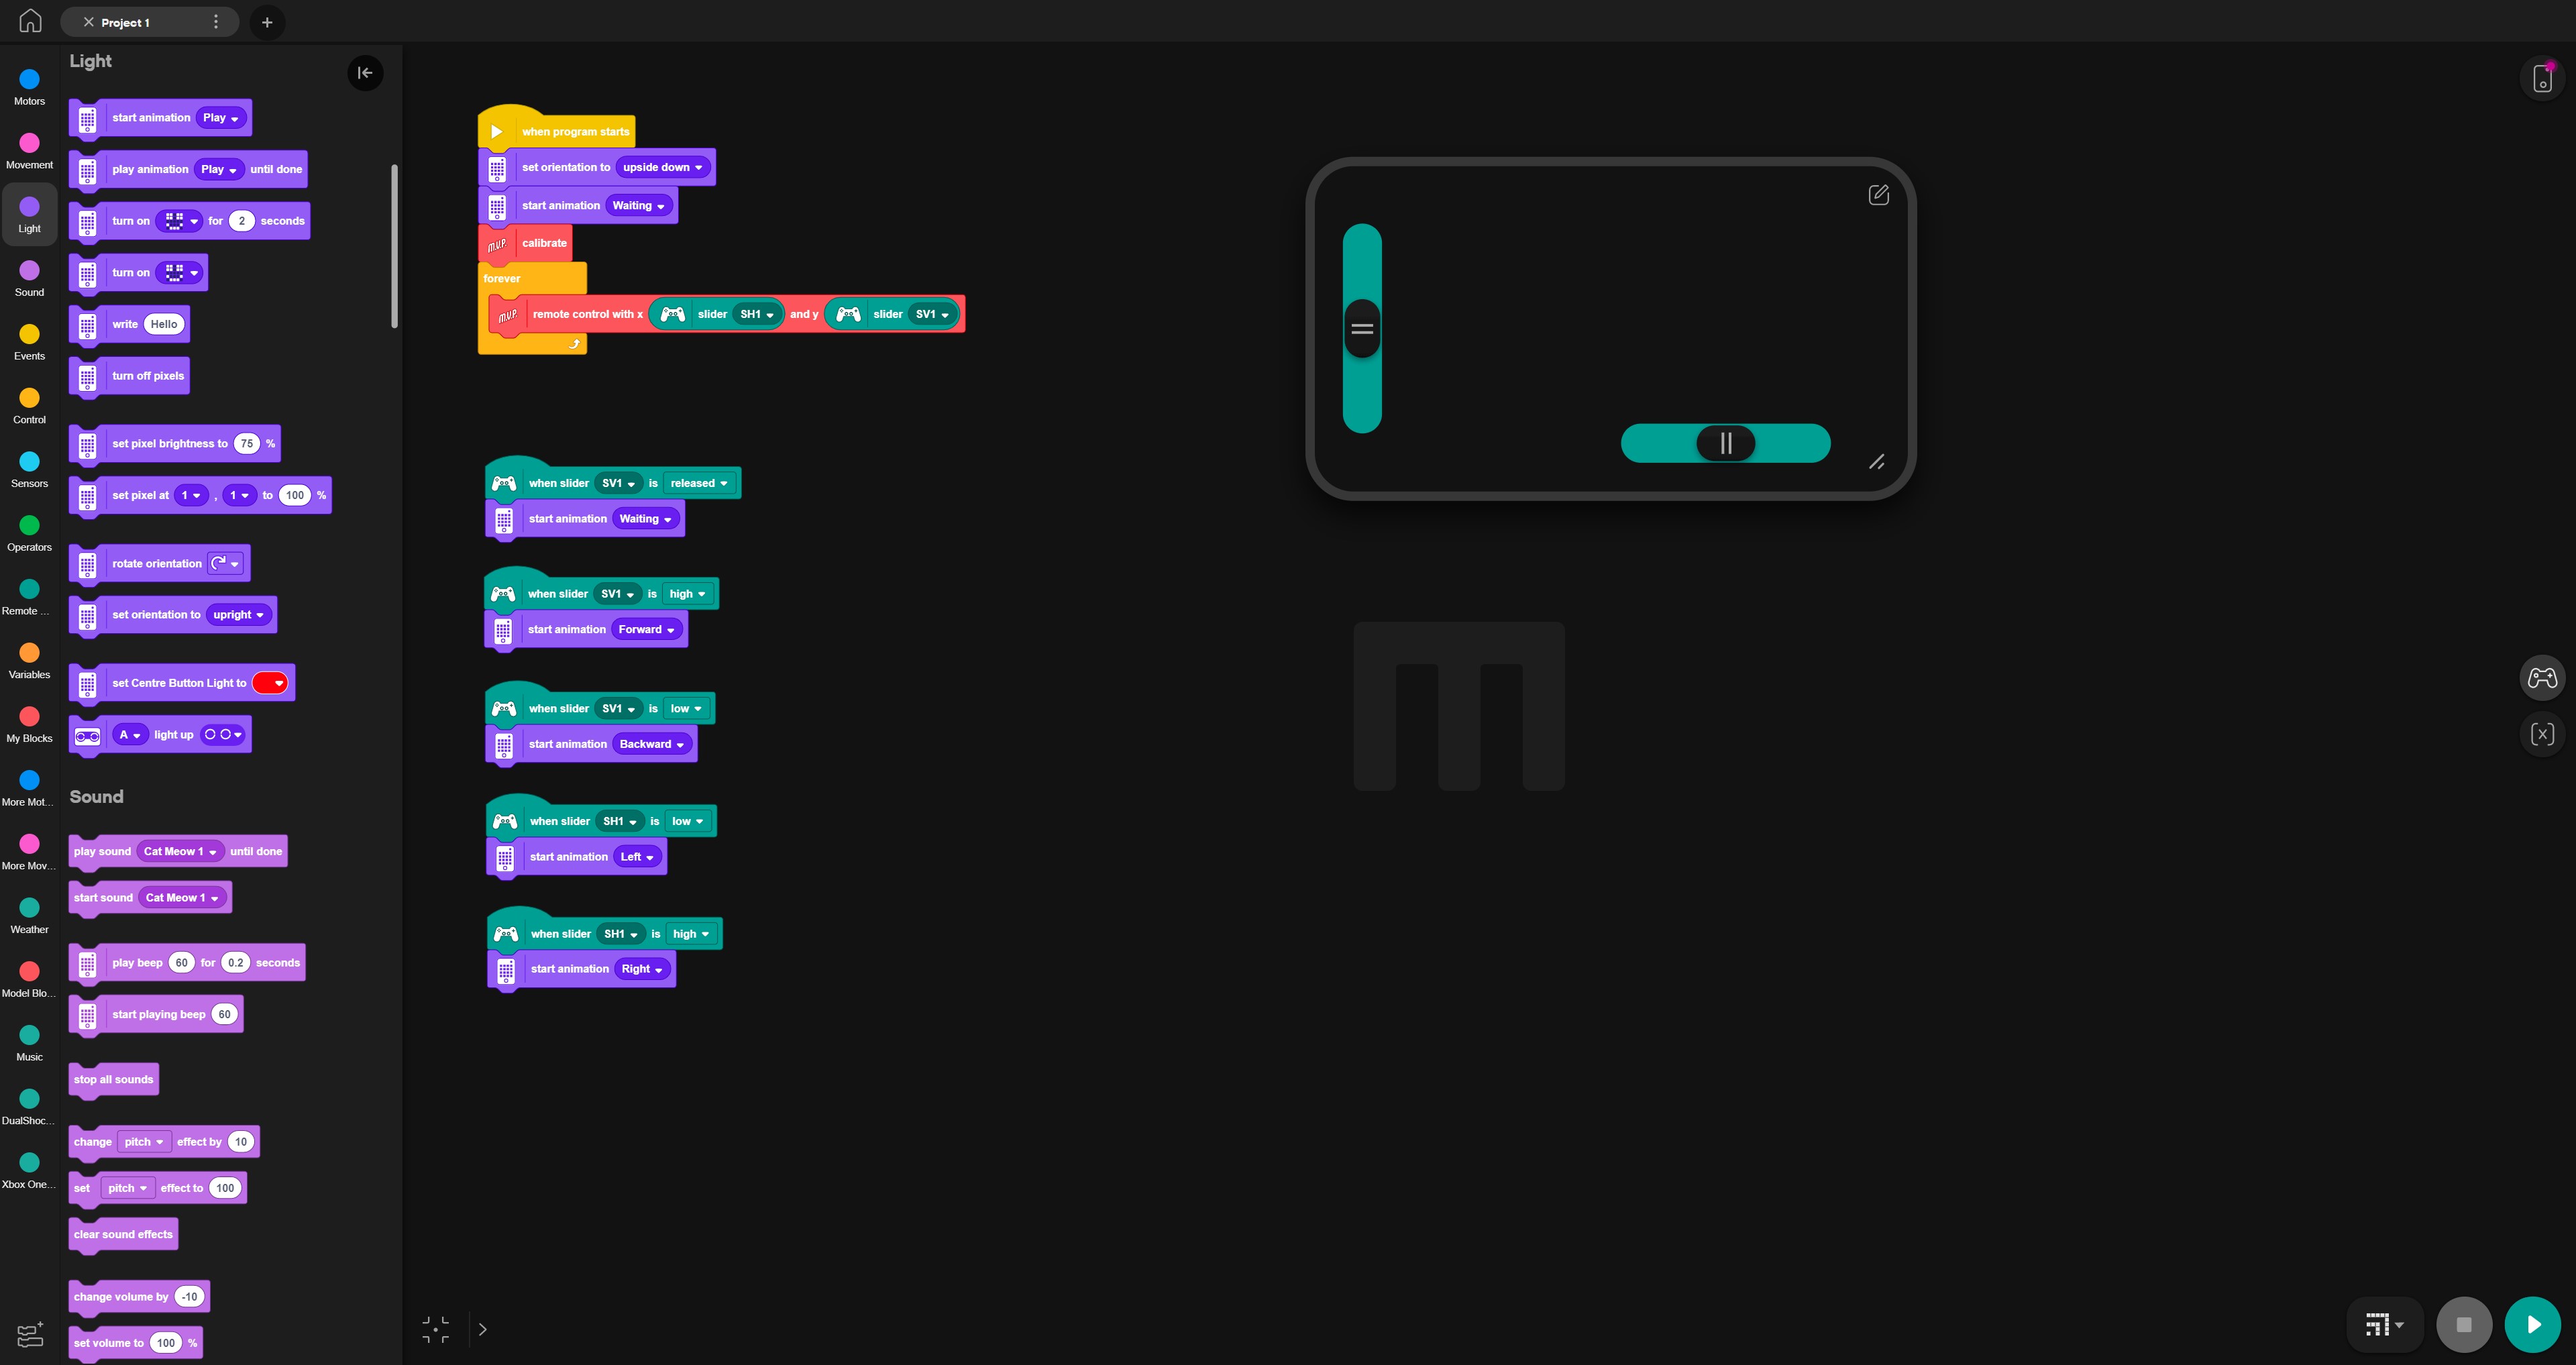
In our example, we will configure MVP to show 5 different ‘expressions’, with each one attached to a specific movement.

- When the vertical slider is not being moved (released), MVP will display the ‘waiting’ animation.
- When the vertical slider is being pushed up, MVP will display the ‘forward’ animation.
- When the vertical slider is being pushed down MVP will display the ‘backward’ animation.
- When the horizontal slider is being pushed ‘down’ (left), MVP will display the ‘left’ animation.
- When the horizontal slider is being pushed ‘up’ (right), MVP will display the ‘right’ animation.
The Finished Code
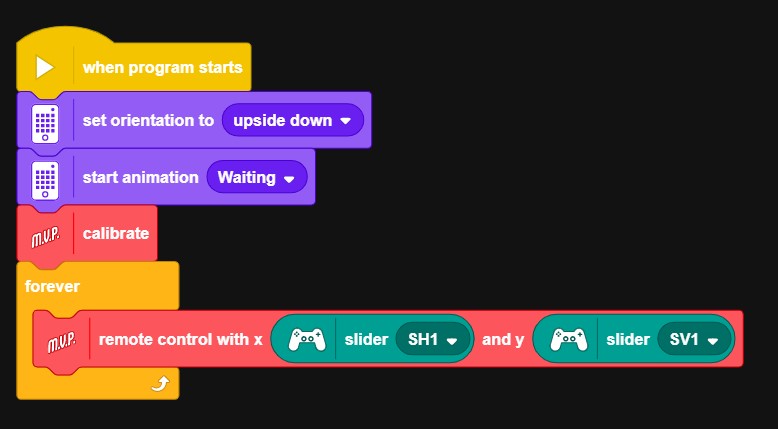
You should now have two sections of code; a section stating how MVP should be controlled and s section telling the hub which animations to display.
Congratulations, you have just written the code to allow MVP to be controlled remotely. MVP will now respond to direct commands from the virtual controller on the screen. Now all your need to do is connecting your device to the hub via Bluetooth or USB cable, click play and enjoy.
You can see an example of the finished code below.
Video Instructions
For a step by step guide to setting up MVP for remote controls, click the video below.
- 15 minute code (3)
- 3D Printing (3)
- Ages 10-11 (13)
- Ages 11-16 (2)
- Ages 7-11 (1)
- Build Diary (1)
- Coding (10)
- guide (5)
- Lego (7)
- Maths (1)
- Preview (1)
- Python (1)
- Resource (7)
- Review (2)
- Robotics (8)
- S3rve (1)
- Scratch (2)
- Service Learning (1)
- Uncategorized (5)
